Region
Two clicks, corner to corner, with alarm-red guides that follow your cursor across the screen.
Ctrl + Shift + 1Fast, private and always ready from your system tray. Grab a region or a whole screen, plus windows on Windows 11 — then pick the colour, measure the pixels and save it exactly the way you want.
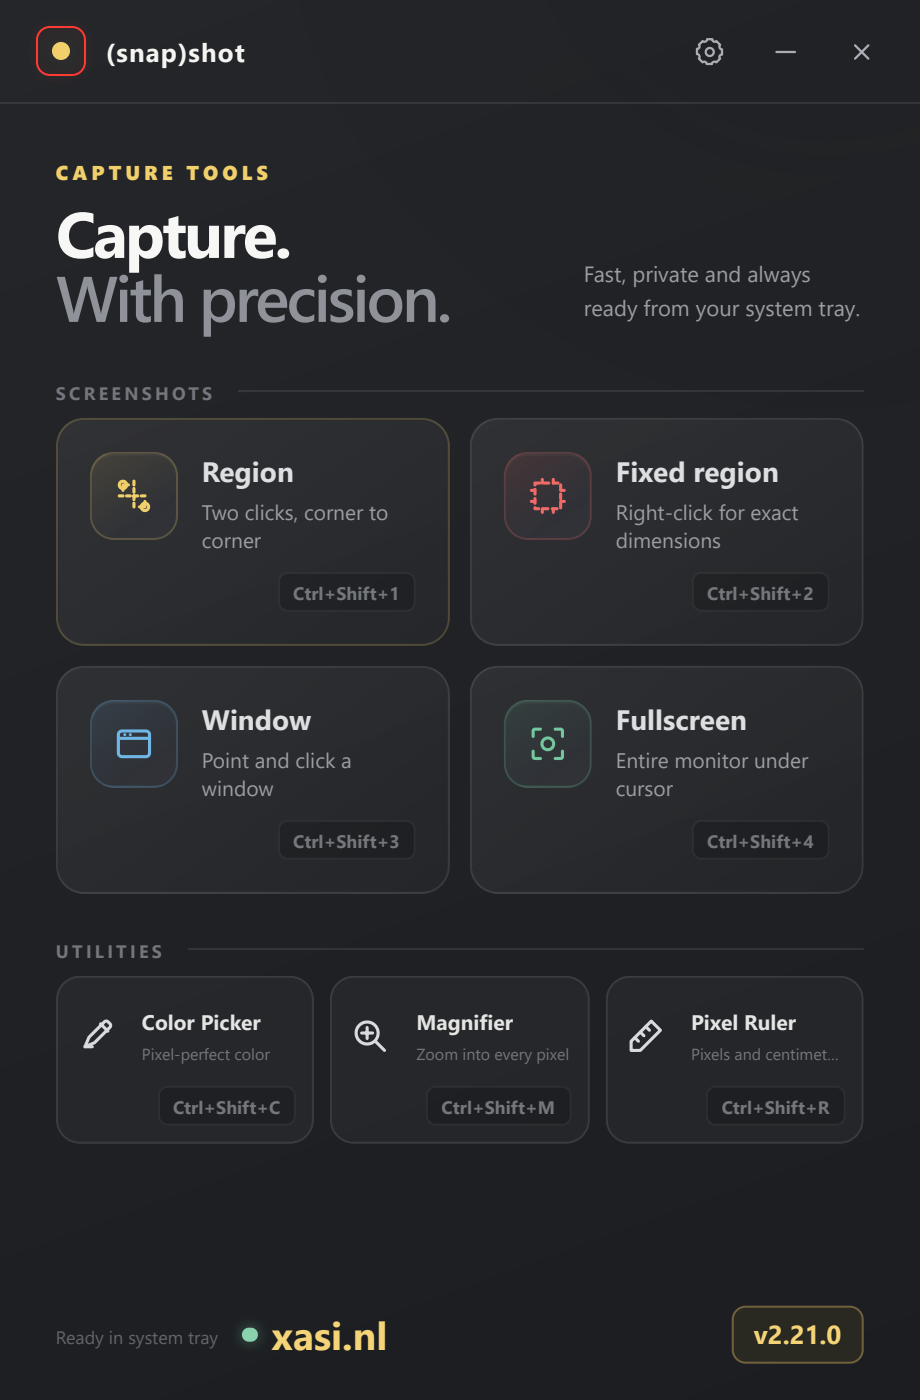
Ubuntu has three ways to capture; Windows adds Window capture. Both include three utilities, all opened by a global shortcut you can reassign.
Two clicks, corner to corner, with alarm-red guides that follow your cursor across the screen.
Ctrl + Shift + 1A frame you can drag and resize. Right-click it to type exact dimensions, or pick a preset like square or social card.
Ctrl + Shift + 2Windows 11 only: point at any visible window — it lights up under your cursor — and click once to capture it whole.
Ctrl + Shift + 3The entire monitor under your cursor, captured instantly — the right one, even on a multi-screen desk.
Ctrl + Shift + 4On Windows it follows you across every monitor; on Ubuntu it works on the monitor containing the app. Lock a pixel, explore nearby shades with the circled palette and RGB slider, then copy HEX, RGB or HSL. On Windows the palette stays open while you paste into other apps.
Ctrl + Shift + CA standalone loupe for inspecting fine detail. Scroll or click to change the zoom while you move around.
Ctrl + Shift + MA horizontal or vertical ruler that floats over your desktop, in pixels or centimetres, calibrated to your display's DPI.
Ctrl + Shift + REvery capture lands in the (snap)shot workspace, held in memory. You review it there and only then choose to save it or copy it — so a mistimed shot never leaves a file behind.
Get (snap)shotThe app stays in the tray until you call it. The screen dims, the guides appear, and you frame your shot.
See the result full size, with its dimensions and estimated file size, before anything is written anywhere.
Save straight to your captures folder, choose a location yourself, or copy the image to the clipboard and move on.
Pick your format once — it is remembered for the next capture, along with an estimate of the file size before you commit.
Ubuntu includes Nikon D7100 sound profiles and refined colours, with full-screen QHD overlays and matching Fixed region selection and preview sizes.
Click any shortcut in Settings and press the combination you want. It is captured before your desktop can react to it.
(snap)shot launches silently into the tray at login, so the first shortcut of the day already works.
The interface and the tray menu both follow the language you choose. English is the default; Dutch is one click away.
No account, no telemetry, no network access. Your captures stay on your machine, in your own folder.

One installer per platform. No sign-up, no licence key, nothing to unlock later.
The NL/EN MSI installer asks for administrator permission and installs in Program Files\XASI. The desktop shortcut is on by default and can be switched off. Remove an older EXE installation first. Uninstall through Windows Installed apps; personal settings and saved captures are retained.
Download .msiThe installer is unsigned, so SmartScreen may warn you. Choose More info › Run anyway to continue.
Double-click the package and choose Install in App Center, or use the terminal command below. Includes Region, Fixed region and Fullscreen.
Download .deb